
Driving Experience Japan Vehicle Catalog
Fake JDM badges, real job roles — from Densu kei vans to hidden-dealer hypers on six-player Kyoto servers.
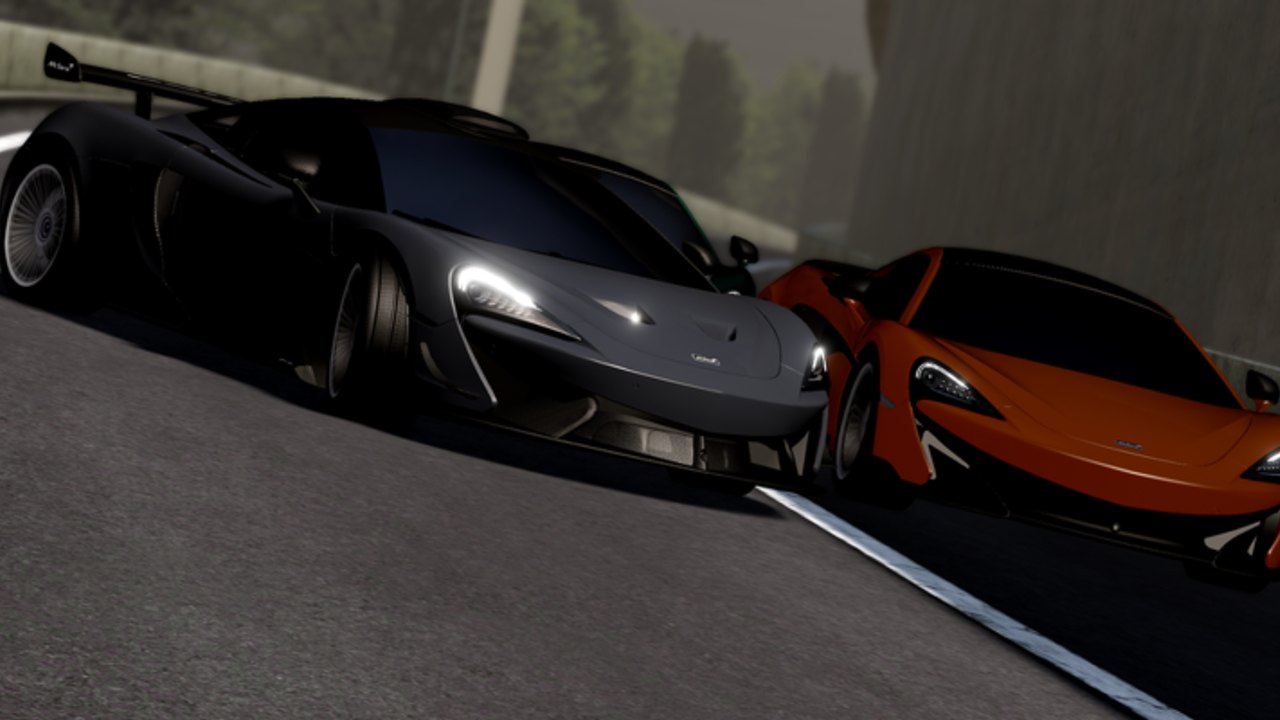
Driving Experience Japan sells Japanese-shaped cars under invented badges so the lots feel like Kyoto without copying a license sheet. Tokoma stands in for Toyota, Honard for Honda, Naisen for Nissan, Densu for Daihatsu, Starl for Subaru, and Reaxus for Lexus. Around those six sit luxury imports, commercial trucks, kei cars, retro barns, and the hidden-dealer hypers that only show up in founder clips. V1.3 added 116 new cars on top of the older catalog. This hub is the map of those lots. Ranks live on the tier list. Roads live on maps. Paychecks live on jobs. Two wheels live on bikes. Event gachas live on NightRace. Plaques live on badges.
RayshStudios launched DEJP on 7 December 2023 and still marks it beta. Servers hold six players. Currency is Yen. You will see Osaka on some dealership labels as setting flavor; the cars you can buy tonight sit on Kyoto lots, Kameoka edges, and whatever hidden apron the current build exposes.
Brands you will actually read on the windshield
Tokoma (Toyota). The backbone. JPN Taxi, Alphard-class vans, Dyna trucks, Land Cruiser-class SUVs, Crown estates, and GR Garage sports. If you need a job body, start at Tokoma. The 2004 Tokoma Dyna Truck 2.8L Cargo from codes is the commercial mascot. The Tokoma JPN Taxi is the fare mascot. Halo pieces such as Supra-class and GR-GT-class sit far above the work row.
Honard (Honda). Daily civics in spirit, plus the sports coupes people take to Hakusan once Yen recovers. Honard is the A-tier pipeline when you graduate off kei. Skip the sports trim if it is your only spawn.
Naisen (Nissan). Players talk about “the Nissan lot” as its own category: AD-class vans, Serena-class MPVs, Ariya-class EVs, and GT-R-class myths. Buy the van for courier. Leave the halo for limited cars.
Densu (Daihatsu). Kei cars, kei vans, Copen-class roadsters, Atrai-class wagons. Densu is C-tier heaven. Tight Kyoto alleys and Kameoka farm lanes both fit. A kei roadster is a toy. A kei van is a job.
Starl (Subaru). Retro WRX-class wagons, Leone-class coupes, tiny Vivio-class kei. Starl is how you get A-tier touge grip without a hidden dealer. Used and retro lots hide the honest ones.
Reaxus (Lexus). Luxury crossovers and saloons. Photograph well in Kyoto night rain. Rarely the right tool for Farmer or plaza courier. Buy Reaxus when the work fleet already exists.
Imports fill the rest of Luxury Autoshop: Audi-class, Mercedes-class, Alpine-class, and the Pagani-class ghosts that belong on hidden aprons rather than the public row.
Categories players actually use
Forget manufacturer press. DEJP drivers shop in six buckets:
- Kei — Densu and tiny Starl, first-hour survival, village lanes.
- Used — Tokoma / Honard / Naisen with dents in the price, B-tier dailies.
- Retro — 1980s and 1990s Starl, old Honard, barn-find Tokoma. Fun, sometimes fragile.
- Nissan (Naisen lot) — vans and sports under one roof. Do not confuse AD vans with GT-R badges.
- Commercial — Dyna, Hiace-class vans, courier bodies, farm kei trucks.
- Luxury limited — Reaxus, Luxury Autoshop, timed bundles, hidden dealers.
Match the bucket to the loop. Courier wants commercial. Taxi wants Tokoma JPN Taxi or a used van. Hakusan wants Starl or Honard sports. Flex wants limited. The beginner car list tells you which bucket to touch first.
Where the lots sit
Kyoto city holds the dense dealer row: Tokoma-Reaxus, Naisen, Densu, used + NEVEN, retro, commercial, Luxury Autoshop, GR Garage. Kameoka village is for driving and Farmer, not for window shopping. Hakusan is for events, not for browsing stickers. A hidden old map still appears in community clips; do not plan a shopping route around it until maps says it is selectable.
Lucky Box is a lot that pretends not to be one. Two Hiace vans at spawn run free / 750,000 Yen / elite Robux with pity since v1.1.5. Treat drops as catalog adds, then rank them. The Lucky Box tool tracks the mechanic; this hub tracks the badge that popped out.
Gamepasses exist for luxury, sports, emergency, extra garage slots, and 2x paycheck. They unlock shelves. They do not replace Yen routes.
How to use this hub with maps and jobs
Pick a brand and a bucket here, then go drive. Maps tells you whether that body belongs in Kyoto traffic, Kameoka dirt, or Hakusan hairpins. Jobs tells you whether the same body prints 400,000 Yen stops or just looks busy at the station. V1.3 kilometer and level rewards mean the catalog car you already own is still progression. You do not need 116 new cars in the garage. You need one you can replace and one you want to take to the mountain.
Use this catalog to pick a brand lot, then jump to maps or jobs instead of staring at luxury glass.
Frequently Asked Questions
Quick answers for Kyoto roads, Yen, and DEJP codes.
What do Tokoma, Honard, and Naisen mean in DEJP?
In-game stand-ins for Toyota, Honda, and Nissan. Densu is Daihatsu, Starl is Subaru, Reaxus is Lexus. Ranks for those badges sit on the tier list.
Which brand should a new driver buy?
Densu kei or used Tokoma. The beginner car list names bodies that survive jobs without emptying Yen.
Where are the luxury and hidden cars?
Luxury Autoshop and hidden dealers. Pagani-class, 787B, GR-GT, and LFA-class cars are covered on limited cars, not on the public Tokoma row.
Do I need a sports car for Kyoto maps?
No. Kyoto city and Kameoka want vans and kei. Save sports for Hakusan touge. Road notes are on maps.
Is Lucky Box part of the vehicle catalog?
Yes. Two spawn Hiace vans drop catalog cars. Use the Lucky Box tool for pity, then rank the drop on the tier list.
How do jobs pick a vehicle role?
Taxi wants a JPN Taxi or van, courier wants a plaza van, Farmer wants a kei truck after level 25. Full loops are on the jobs page.